

Overview
The Account Toolbar sits at the top of the Studio tab in any account view. It has three sub-sections, each accessible via a tab:Search
Search all the insights PG:AI has about an account in one place. Instead of navigating between Strategic Priorities, Tech Stack, Financials, and Contacts individually, Search queries across every Intelligence module and returns matching results.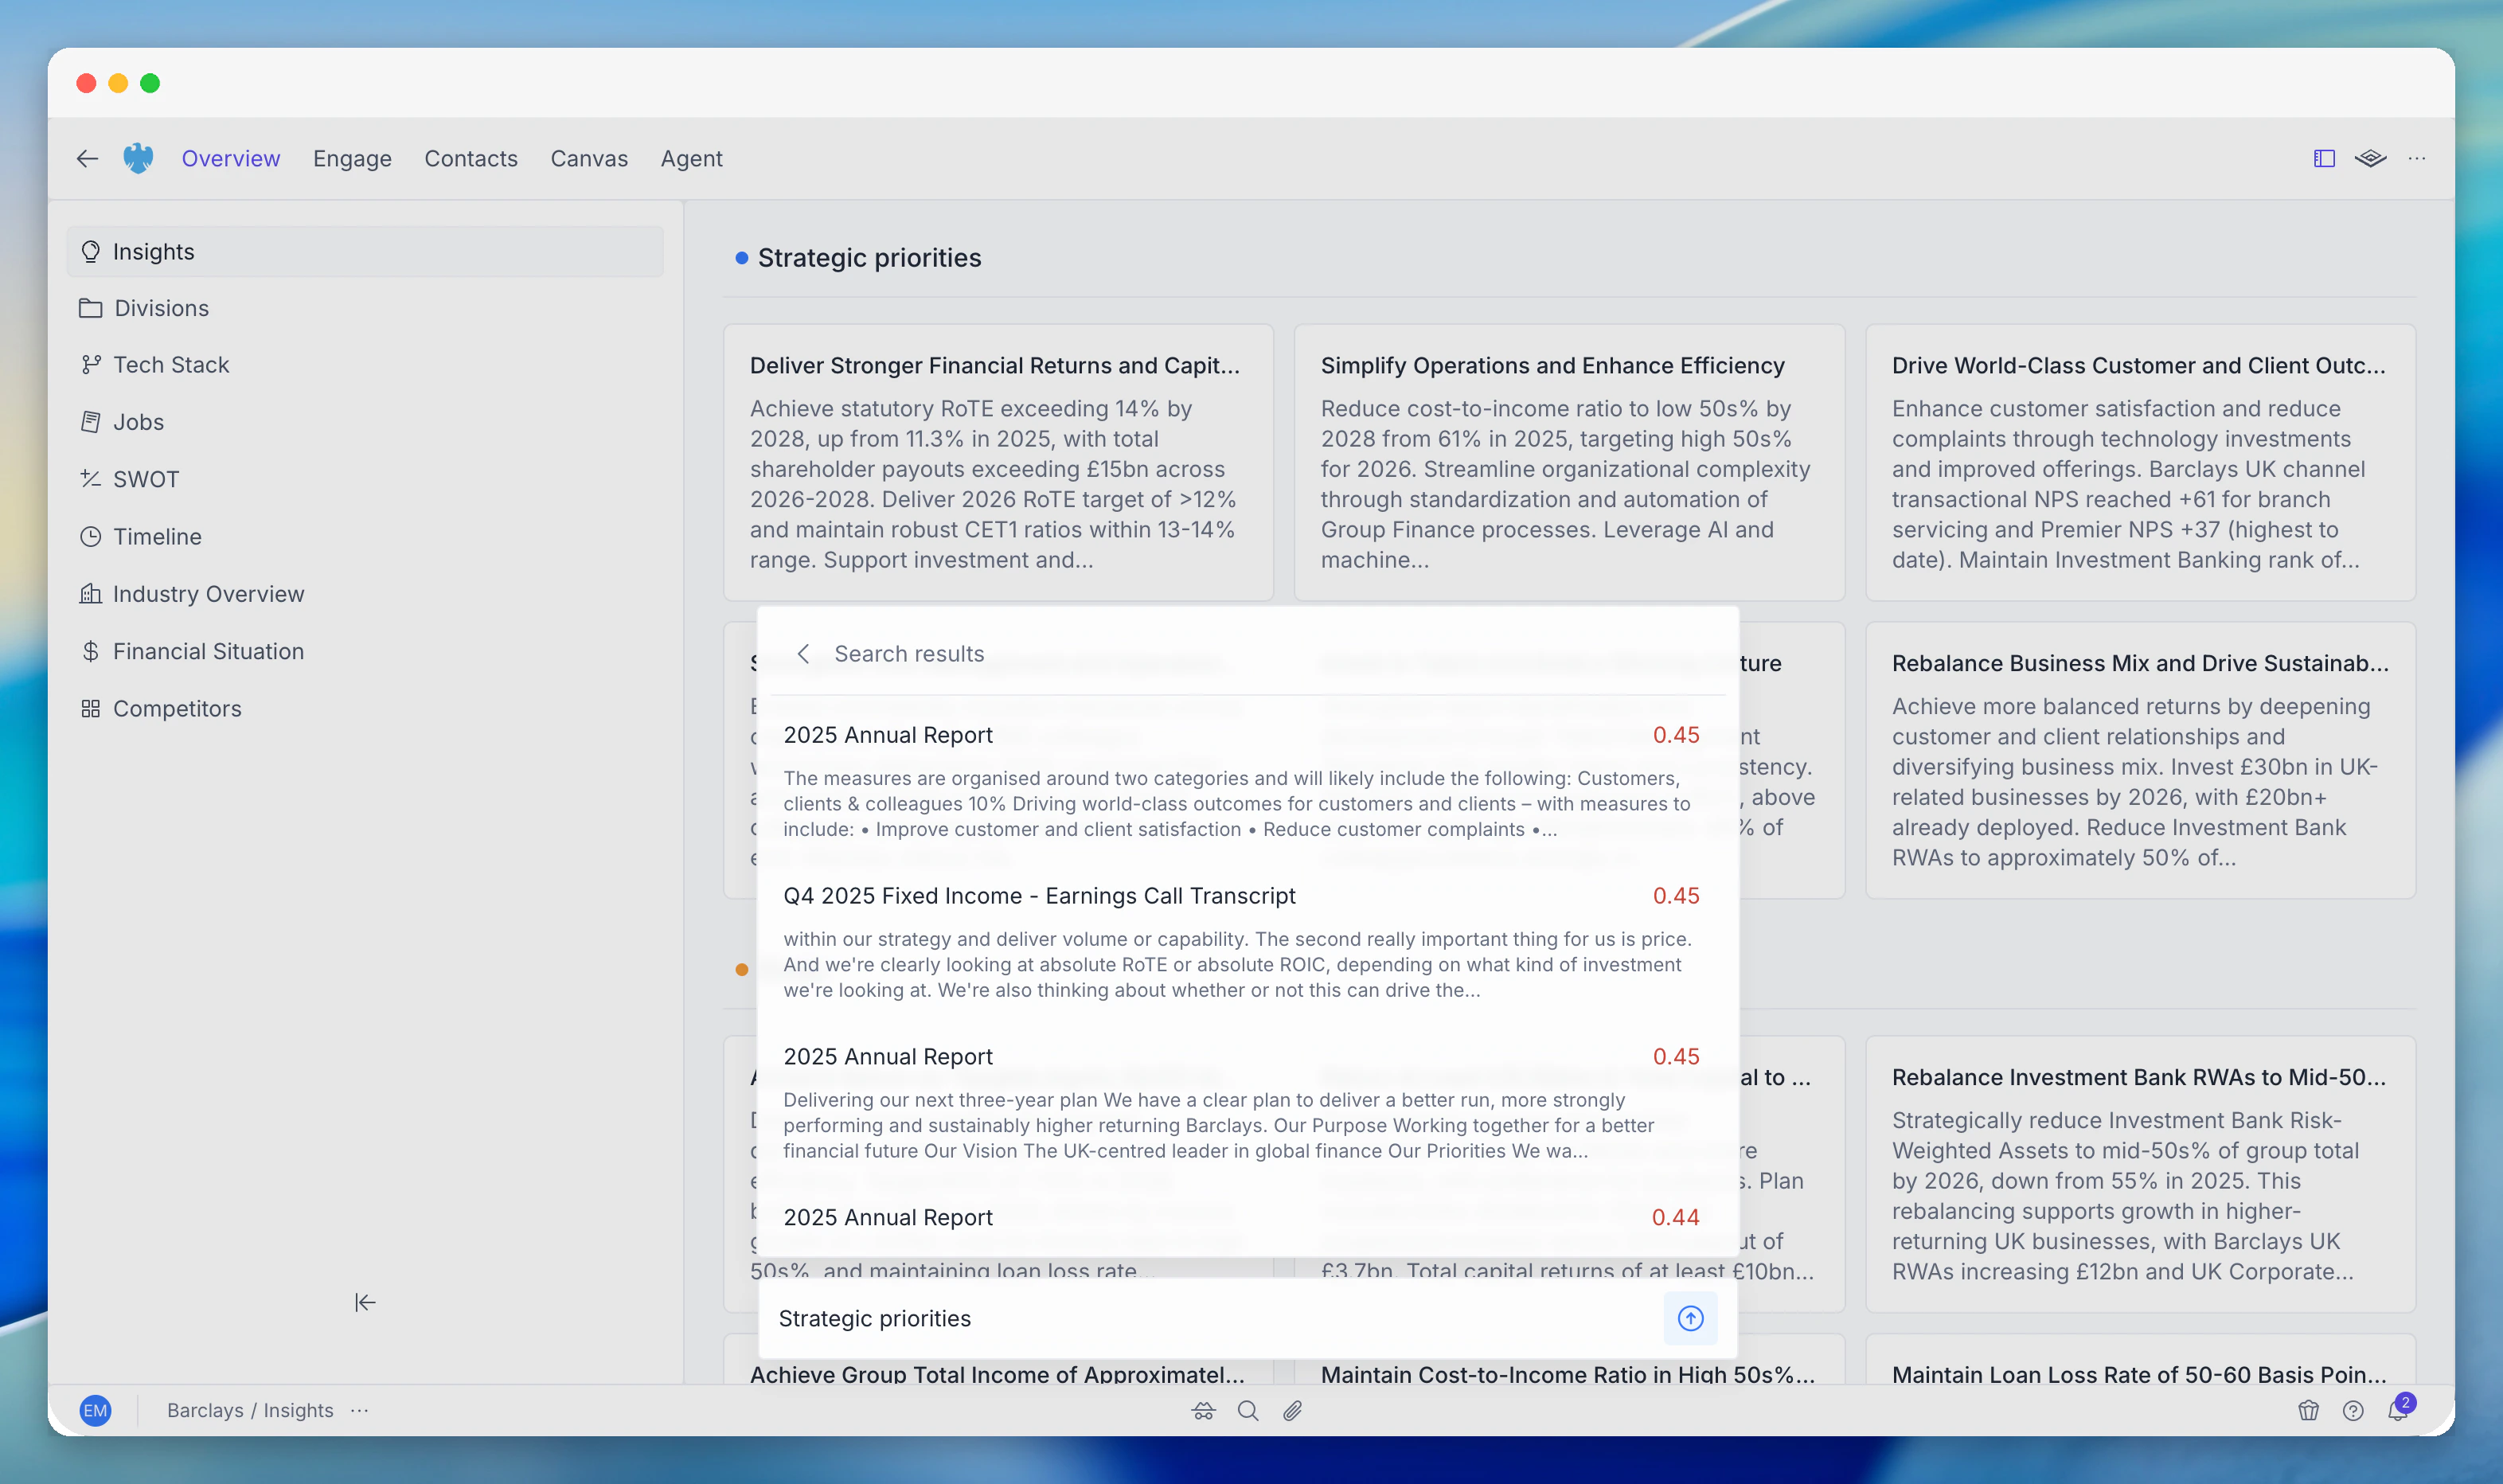
How to use it
1
Open Search
Click the Search tab in the Account Toolbar.
2
Enter your query
Type a keyword, phrase, or question (e.g. “cloud migration”, “VP Engineering”, “revenue growth”).
3
Review results
Results appear grouped by source module - strategic priorities, contacts, tech stack, financials, jobs, and enrichment data.
4
Drill down
Click any result to navigate to the full detail view within the relevant Intelligence module.
Example queries
Discover
A focused search interface for exploring jobs and contacts at the account. Discover surfaces hiring activity and organisational data that help you understand the company and identify engagement opportunities.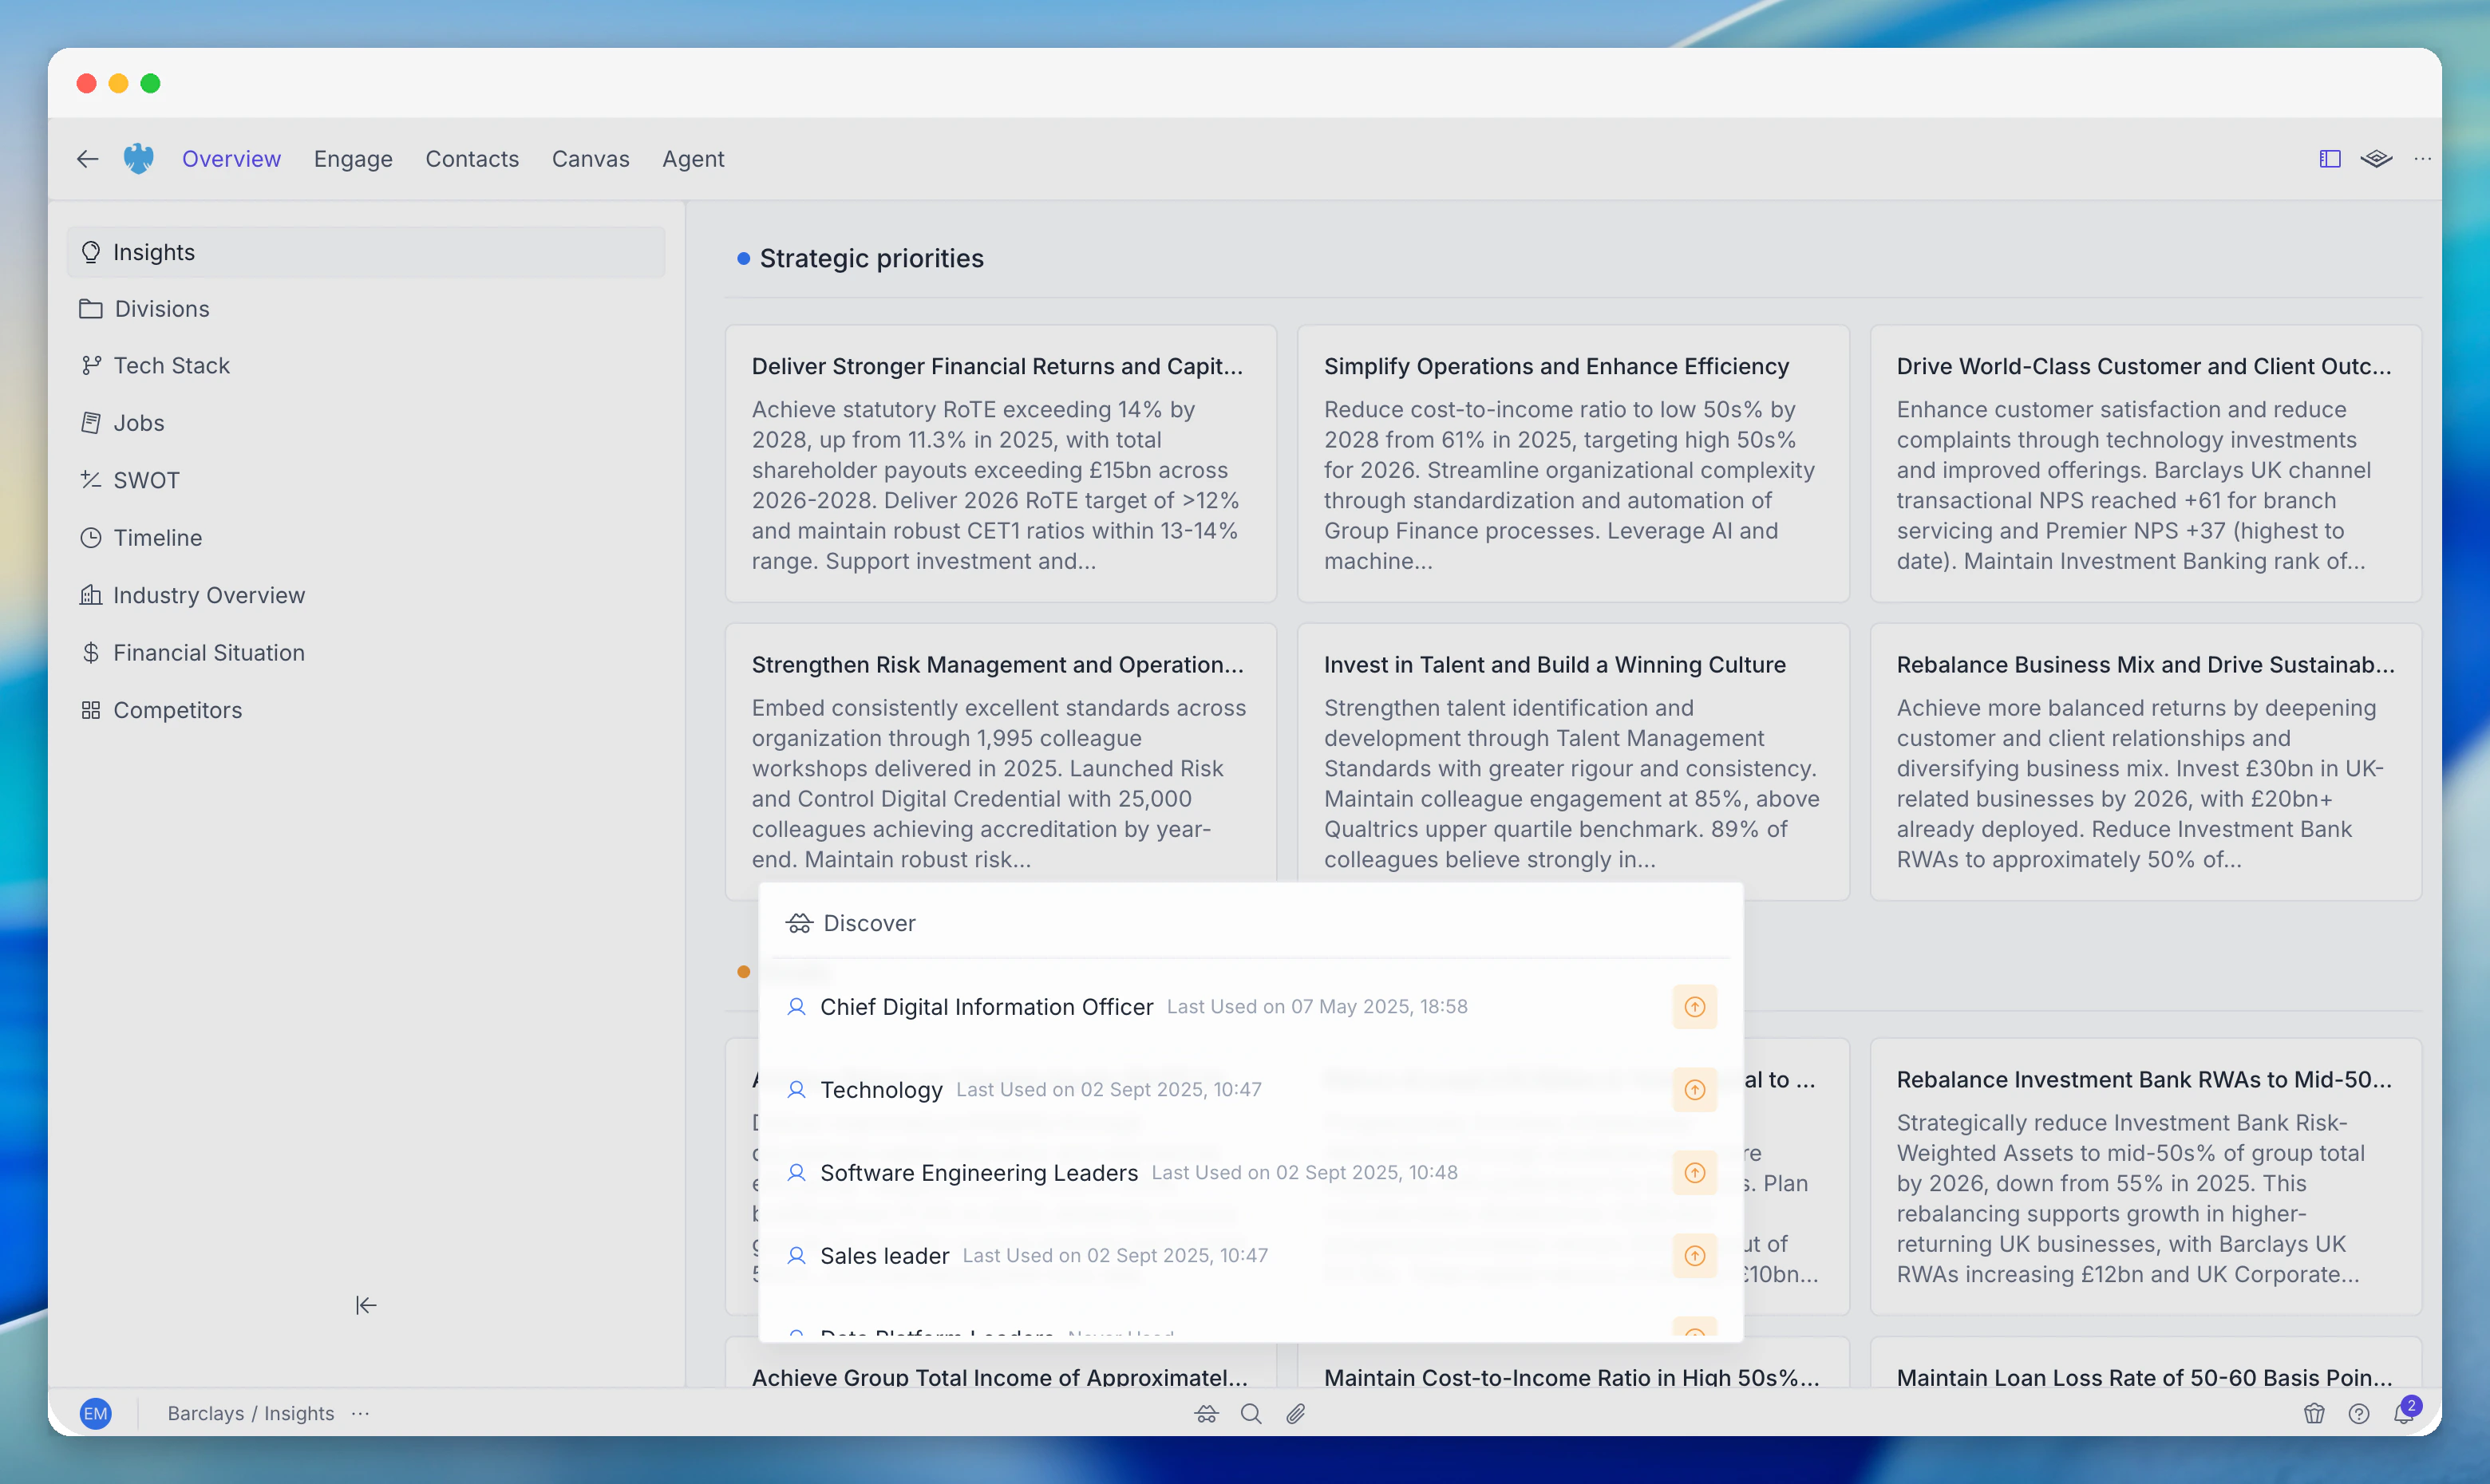
Contacts
Search for people at the account by name, role, department, or seniority level.- Filter by department (Engineering, Sales, Marketing, Finance, etc.)
- Filter by seniority (C-Suite, VP, Director, Manager)
- View role, reporting structure, and tenure
- Click a contact to open their full profile in the Contacts & Org Chart module
Jobs
Search for job postings at the account by title, function, or keyword.- Filter by department, level, or posting date
- View job descriptions, requirements, and posting source
- Use job postings to identify investment areas and strategic priorities
Job postings often signal strategic priorities before they appear in public announcements. A cluster of “AI Engineer” postings tells you something about company direction before the press release.
File Uploads
Upload documents directly to an account. Uploaded files are indexed and become part of the account’s intelligence context - available to the Agent, Canvas, and Workflows.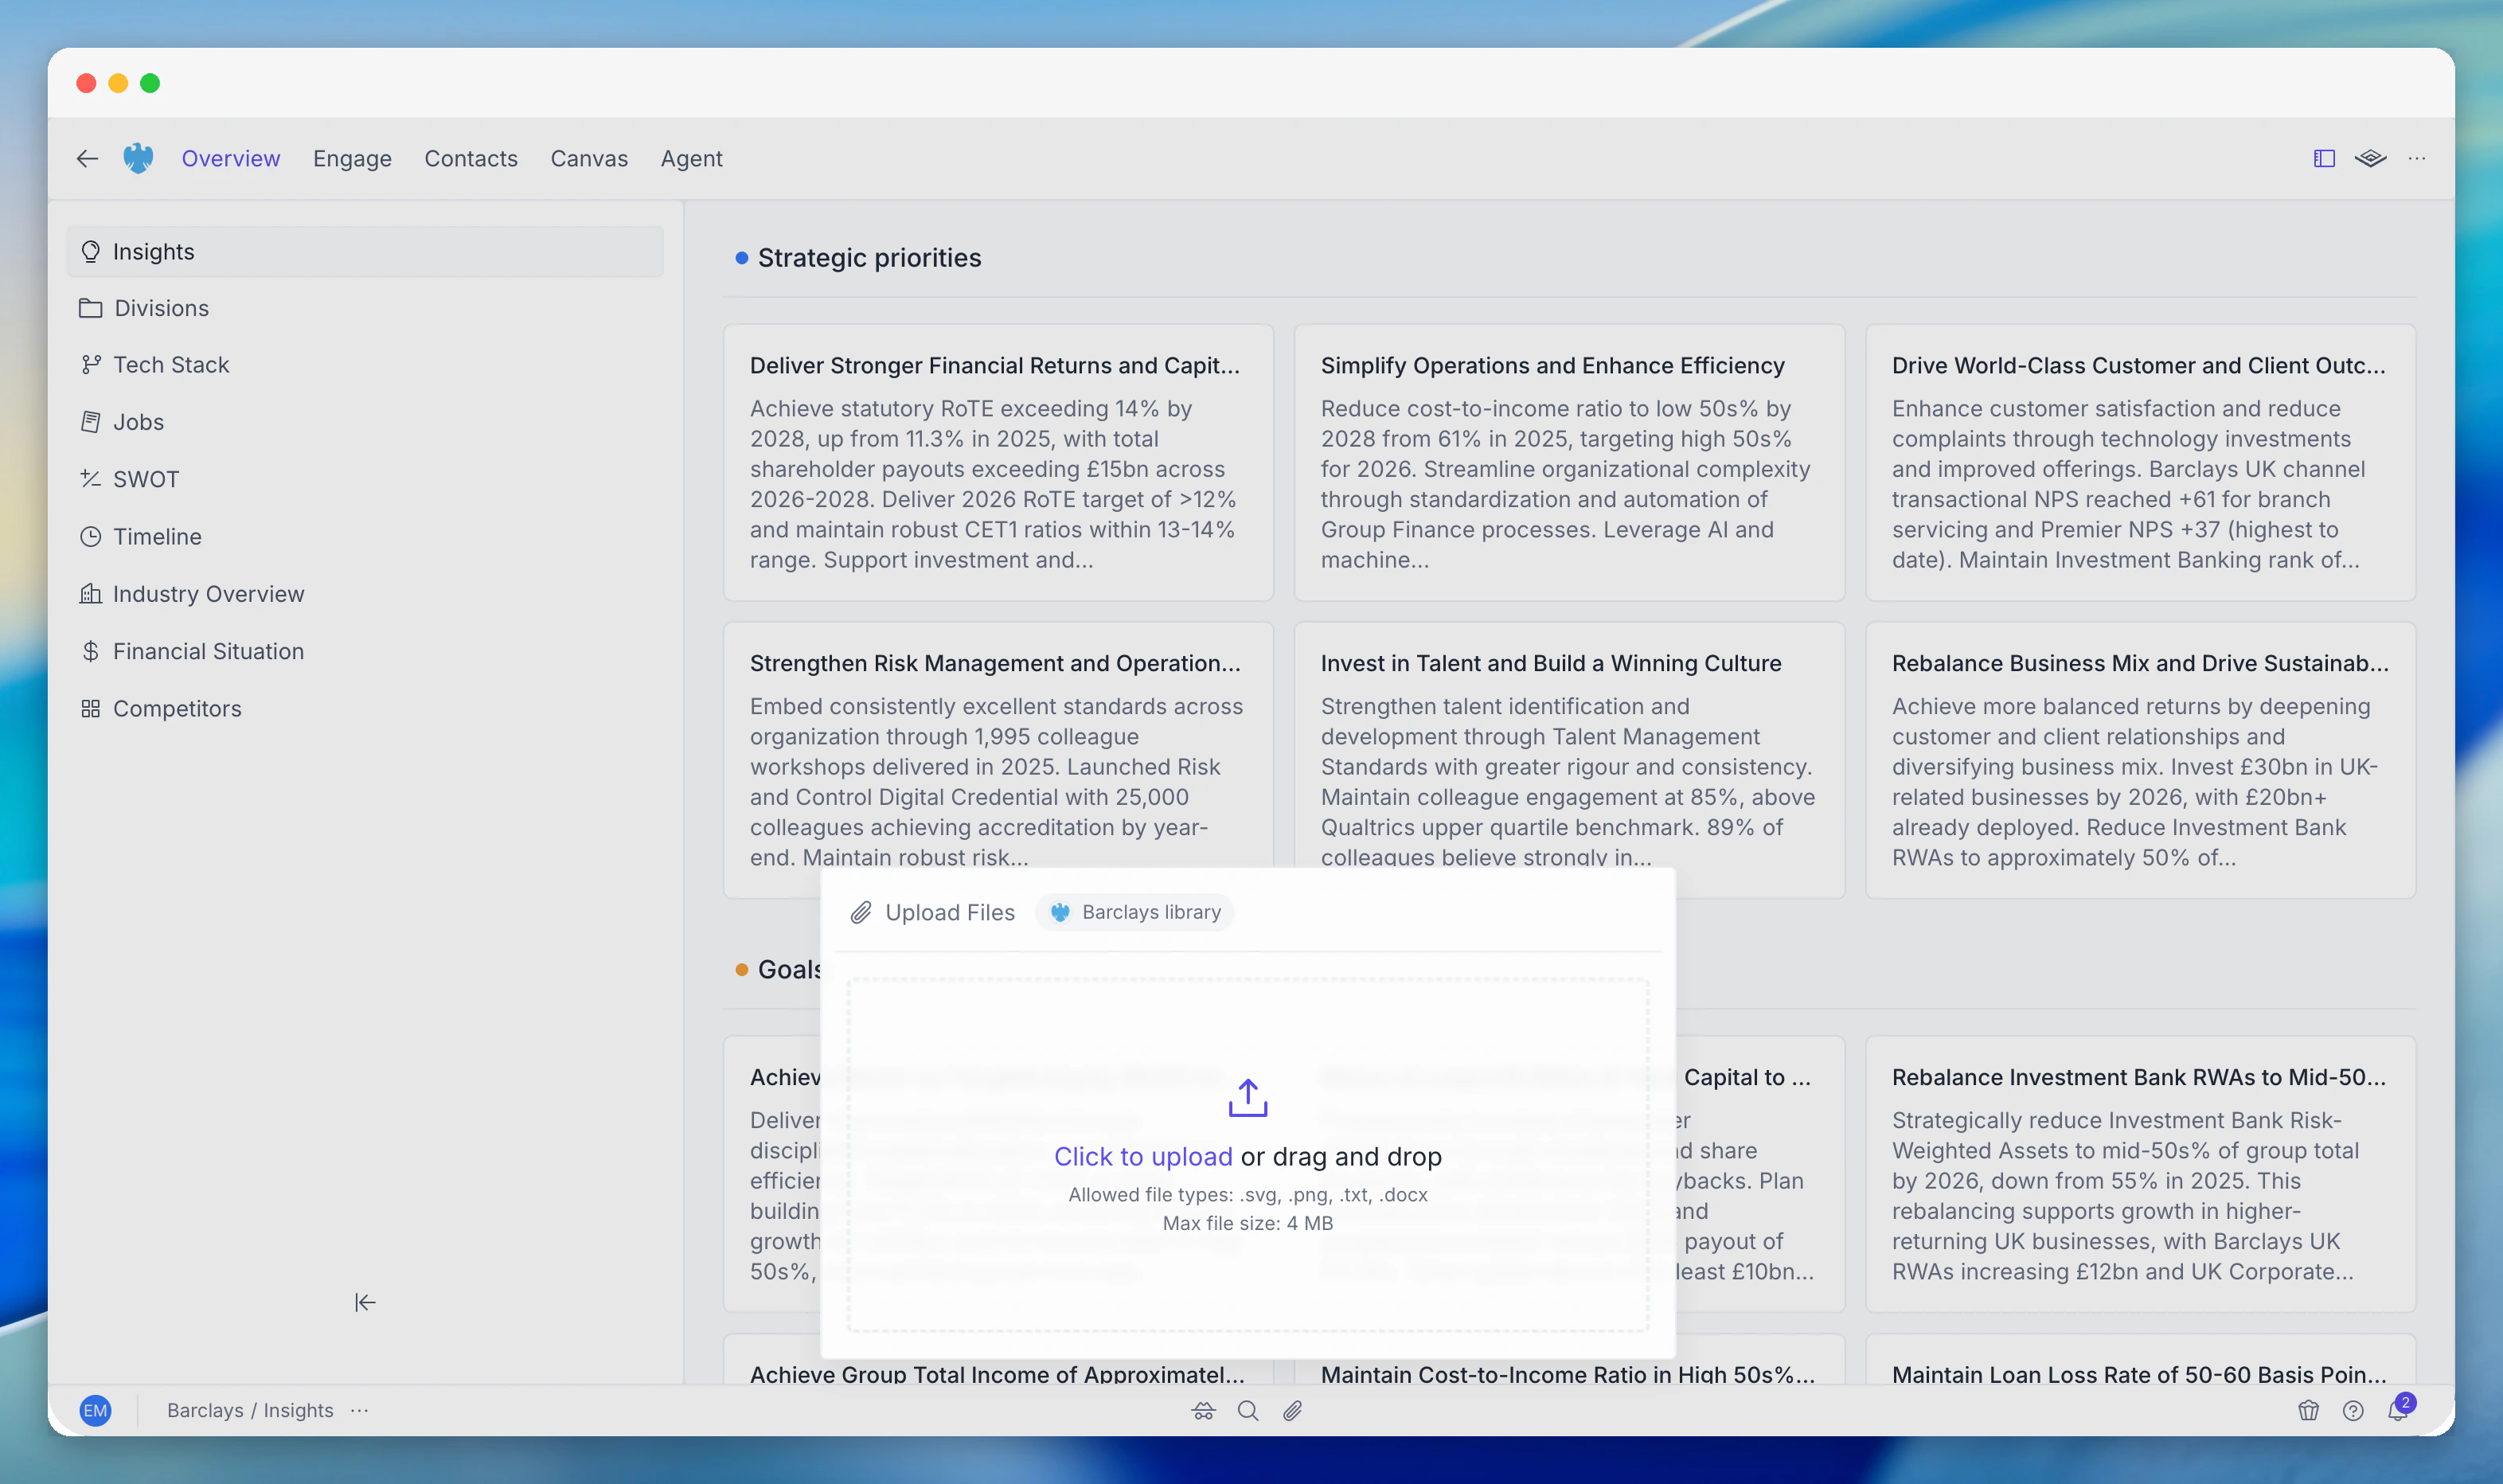
How to upload
1
Open File Uploads
Click the File Uploads tab in the Account Toolbar.
2
Add files
Drag and drop files into the upload area, or click to browse your computer.
3
Files are indexed
Uploaded files are automatically indexed and immediately available to the agent.
Supported formats
What to upload
Uploaded files are account-level - all team members with access to the account can view and use them. Files persist until deleted.
Managing files
- View all uploaded files in the file library
- Files show upload date, uploader, and file size
- Delete files you no longer need - deleted files are removed from the agent’s context
Related modules
Agent
Ask questions about the account using intelligence data and any files you’ve uploaded.
Canvas
Generate documents that draw from uploaded files as well as Intelligence data.
Workflows
Build automated pipelines that reference uploaded account documents at scale.